
Start here: who the course is for and what students take home
| What parents need to confirm | Current course details |
|---|---|
| Age | 10-16 years |
| Starting level | No previous coding required; students need to type and read basic English |
| Format | In-person hands-on workshop, 8-15 students |
| Duration | 8 sessions, approximately 90 minutes each |
| Price | A$480 for 8 sessions, A$60 per session |
| Course tool | Creative Code Studio or Kids OpenCode |
| Final outcome | Complete playable game, shareable link, short trailer GIF and Demo Day presentation |
This course suits students who are ready to move from enjoying games to making one. They do not need to memorise coding syntax first, but they do need to use a keyboard, read basic English, test their work and keep improving it when something does not work.
The in-person venue, cohort dates and available places change between cohorts. Confirm the current arrangements through the website or with Rain before enrolling.
This guide reflects the course as published on the Airbotix course page in July 2026. Earlier 9-week material no longer describes the current course.
The final project: a complete game, not a worksheet
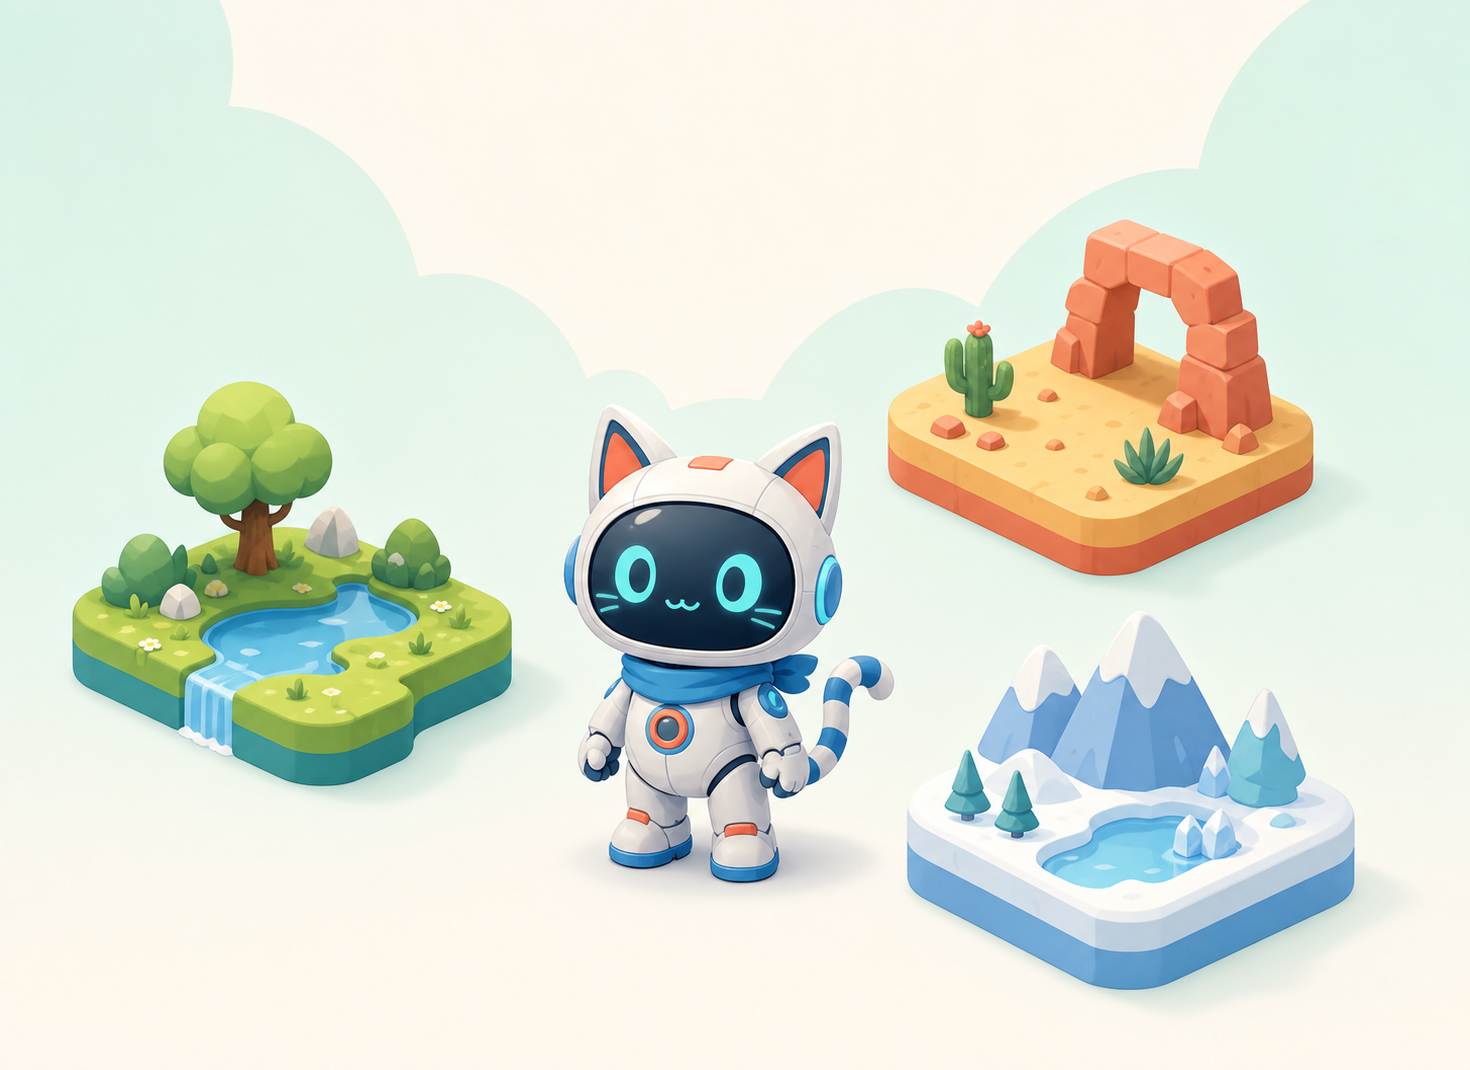
By the end of the eight sessions, each student's game should include:
- an original hero, world, enemies, interface and level design;
- walking, running, jumping, gravity and collision;
- platforms, gaps, obstacles, collectibles, score and a goal;
- original theme music and jump, collection and victory sound effects;
- enemies, damage or failure, and a restart mechanism;
- a power-up, score, lives, and start, win and lose screens;
- a complete level improved through playtesting and balancing;
- a shareable link, short trailer GIF and Demo Day explanation.
Public sharing must follow platform rules and parent consent requirements. The course does not use Nintendo characters, logos, music or assets, and does not claim licensing, endorsement or partnership.
Session 1: Design an original hero and game world
Goal for the session: Decide who is going on the adventure and where it takes place, establishing one consistent creative direction for the game.
- What students do: Notice what makes side-scrolling games memorable; sketch a hero; choose an original world direction such as a lava castle, candy land or space; generate and select matching front, side and jump poses; build a title screen.
- Core concepts: Art direction, character consistency, visual selection and project setup.
- Tool choice: Use Creative Code Studio to compare hero and world concepts quickly, or use Kids OpenCode to set up a multi-file game project and import approved original assets.
- How AI helps: Generate character sheets and world concepts. The student writes the direction, chooses, rejects and keeps the style consistent.
- Visible result: A title screen with the student's original hero standing in their own world.
Session 2: Make it move & jump
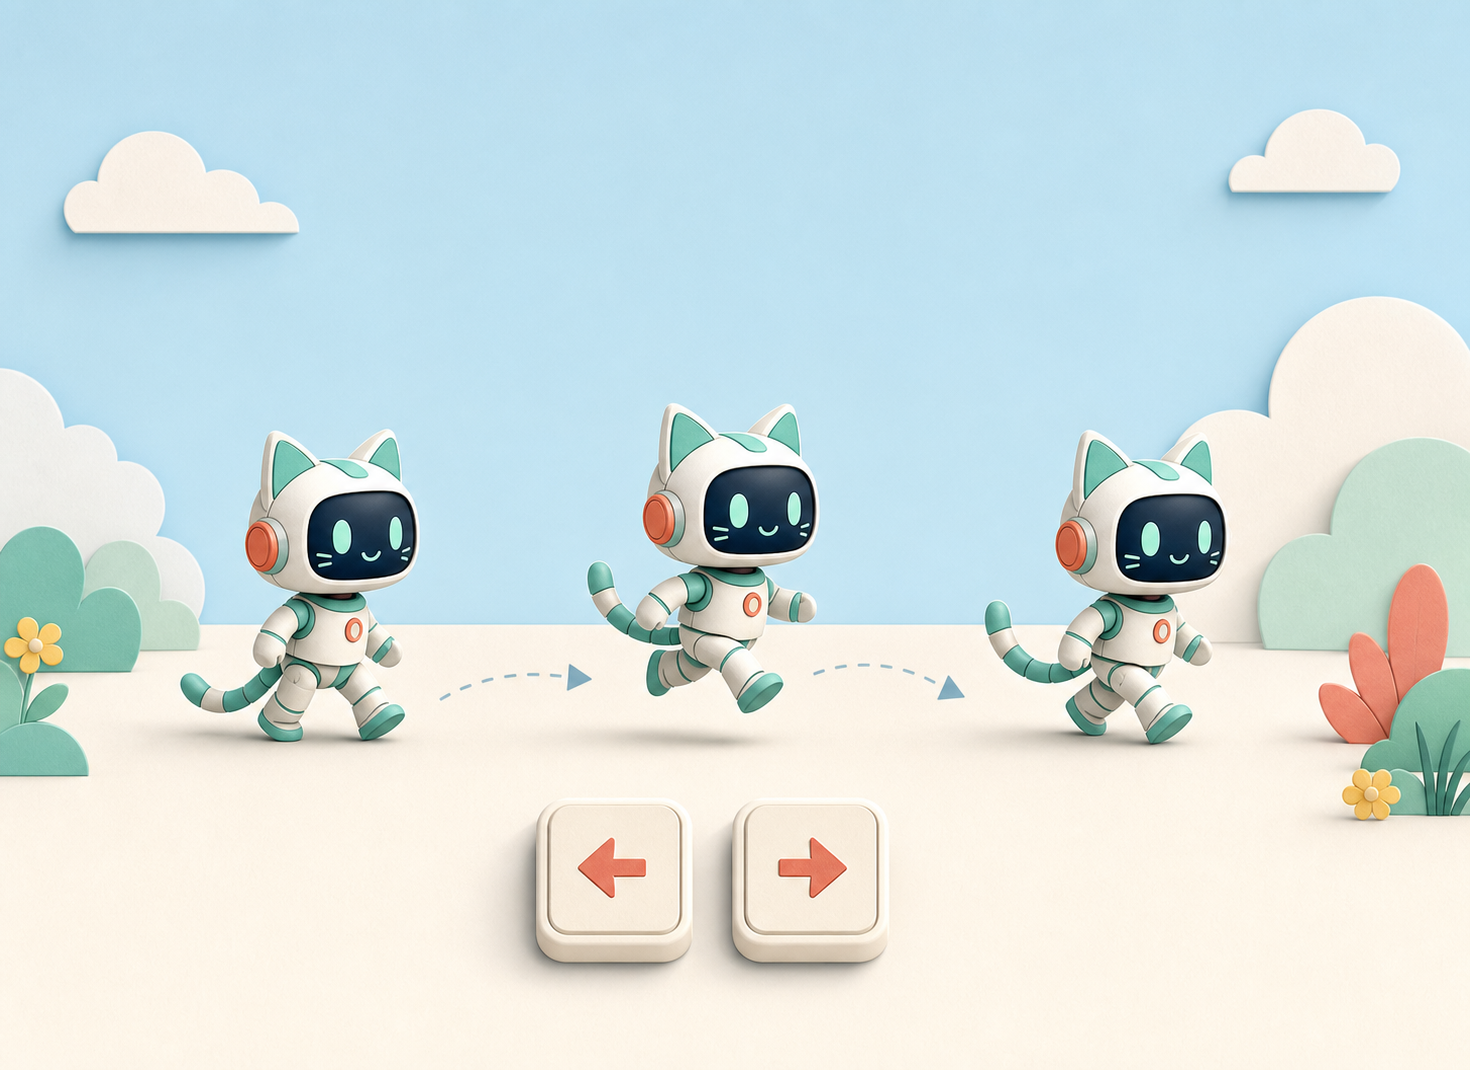
Goal for the session: Turn a still character into a game hero that responds to the keyboard, moves with animation, and jumps in a way the student can explain.
- What students do: Make consistent idle and run frames; add left and right keyboard input; check whether animation timing matches movement speed; then add gravity, take-off and landing, and change one physics value at a time to record the effect.
- Core concepts: Keyboard input, sprite animation, direction, speed, gravity, jump strength, collision, controlled variables and comparison testing.
- Tool choice: Use Creative Code Studio to test movement and compare jump curves quickly, or use Kids OpenCode to read and tune the AI-assisted movement and physics code.
- How AI helps: Suggest matching animation frames, a movement-code draft, and a useful range for physics values. The student runs, checks and decides which values to keep based on actual playtesting.
- Visible result: An animated hero that walks, runs and jumps, with a tuning process the student can explain.
This is the character-controller session the rest of the course builds on, so it combines movement and jump feel in one sitting rather than splitting them across two.
Session 3: Build the first complete level
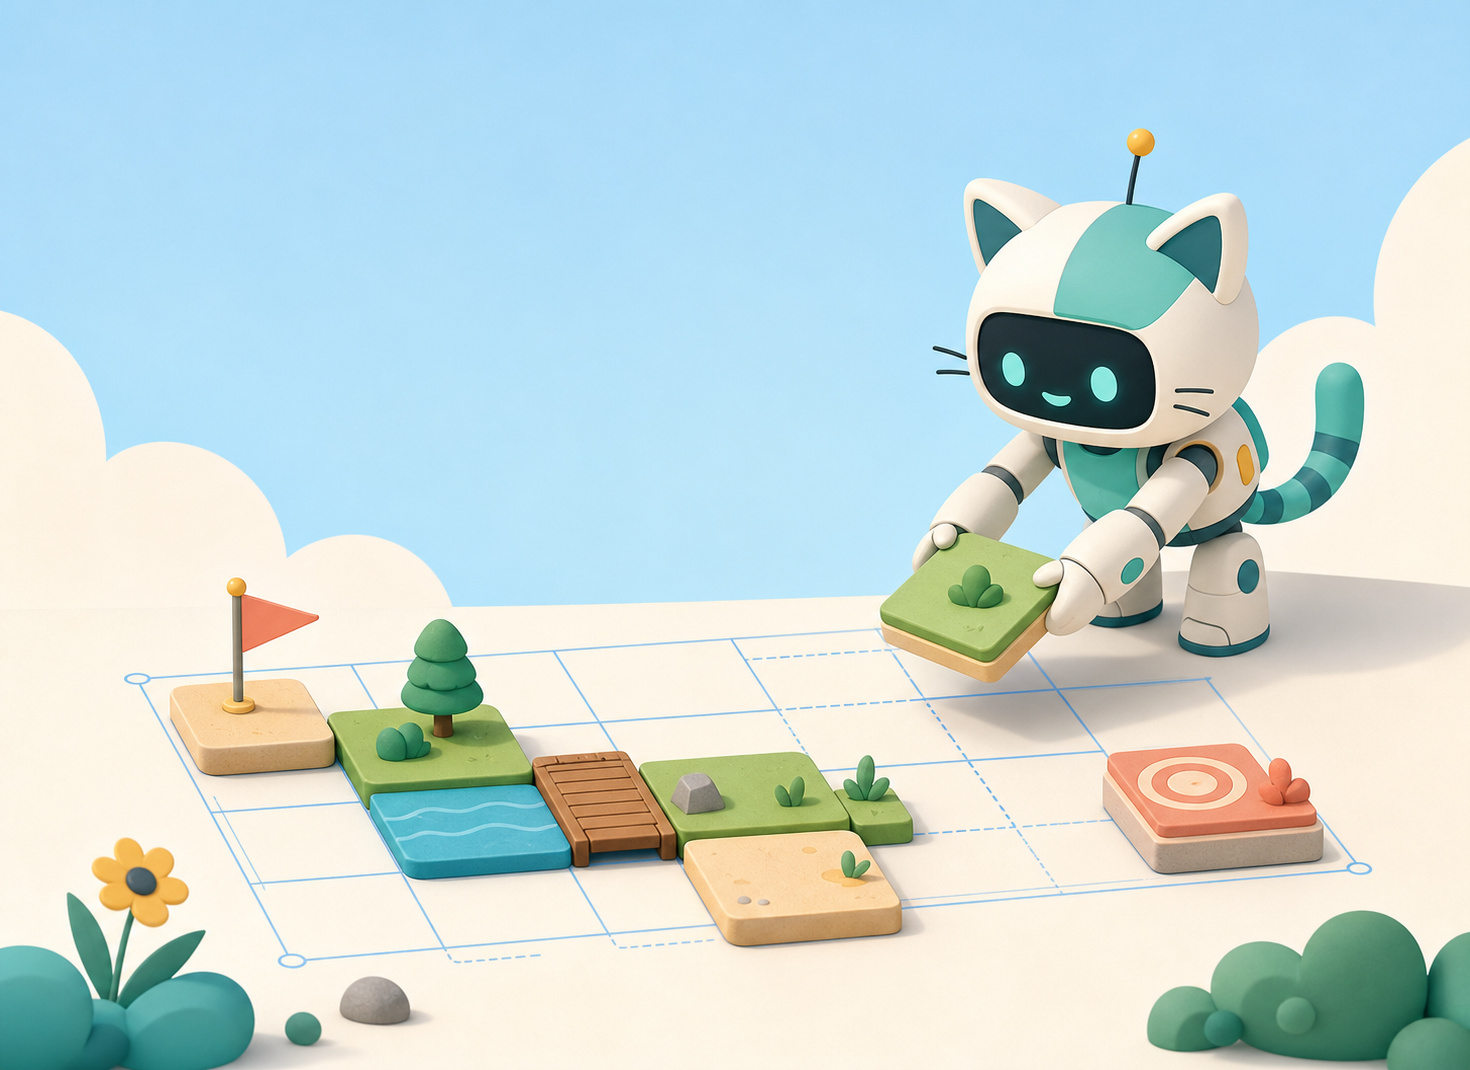
Goal for the session: Turn the hero's abilities into a player route with a beginning, rhythm and clear finish.
- What students do: Plan a tilemap; arrange ground, platforms, gaps, pipes and decoration; test jump distances; revise routes that are too difficult, unclear or repetitive.
- Core concepts: Tilemaps, collision boundaries, level pacing, player routes and difficulty curves.
- Tool choice: Use Creative Code Studio to arrange and playtest a route quickly, or use Kids OpenCode to integrate tiles, collision and level data into the main project.
- How AI helps: Generate original ground, brick, pipe, cloud and decoration assets that match the chosen world style.
- Visible result: A complete section of level that players can run, jump and explore from start to finish.
Session 4: Collectibles, sound effects and original theme music
Goal for the session: Move the game from simply playable to responsive, rhythmic and memorable through sound.
- What students do: Add coins or an original collectible; implement collection and scoring; make jump and collection sounds; create theme music; connect each sound to the correct event.
- Core concepts: Events, variables, score, audio triggers and feedback design.
- Tool choice: Use Creative Code Studio to check whether collection feedback is clear, or use Kids OpenCode to connect score variables, audio files and event logic.
- How AI helps: Create drafts for original sound effects and an 8-bit theme. The student chooses the mood, rhythm and length, then tests the connections.
- Visible result: A game section with collection feedback, score, action sounds and original theme music.
Session 5: Enemies, danger and failure
Goal for the session: Add genuine risk so the player needs to observe, judge and time their actions.
- What students do: Design an original enemy and walk cycle; add left-right patrol movement; implement stomping, damage, failure and restart; test edges and collision cases.
- Core concepts: State, conditions, patrol behaviour, collision, damage and failure feedback.
- Tool choice: Use Creative Code Studio to compare enemy speed and interaction quickly, or use Kids OpenCode to read and debug patrol, stomp and damage logic.
- How AI helps: Generate an enemy visual and a behaviour-code draft. The student checks whether the code follows their chosen rules.
- Visible result: A patrolling enemy that can be defeated but can also end the current attempt.
Session 6: Power-ups and changing character state
Goal for the session: Make a collectible change the way the game plays, rather than simply adding to the score.
- What students do: Choose an ability such as extra speed, growth or double jump; design the power-up asset; add before-and-after state changes; make a short jingle and particle feedback.
- Core concepts: Game state, temporary effects, conditions, timers, visual feedback and audio feedback.
- Tool choice: Use Creative Code Studio to compare whether different power-ups are clear and fun, or use Kids OpenCode to implement state changes, duration and recovery logic.
- How AI helps: Generate an original item, short jingle and particle-effect draft. The student sets the ability boundaries and balances the result.
- Visible result: A power-up that visibly changes the hero's ability and gives clear feedback.
Session 7: Win, lose and complete the game loop
Goal for the session: Connect separate mechanics into a game that can properly start, finish, fail and be attempted again.
- What students do: Add score, lives and a goal; create start, win and lose screens; check that interface, sound and rules are consistent; playtest every possible route through the game.
- Core concepts: Game loops, UI, lives, win and lose conditions, and scene or state transitions.
- Tool choice: Use Creative Code Studio to check whether the complete experience is clear, or use Kids OpenCode to connect score, lives, screen transitions and restart logic.
- How AI helps: Generate draft hearts, numbers, banners and victory music. The student selects, integrates and fully tests the result.
- Visible result: A complete level that runs from the start screen to victory or failure and can be attempted again.
Session 8: Playtest, publish and Demo Day
Goal for the session: Use evidence from real players to make the final improvements and deliver the game for others to experience.
- What students do: Invite classmates to play; record where the game is too difficult, unclear or broken; adjust difficulty; fix final bugs; create a title card and trailer GIF; prepare a project explanation.
- Core concepts: Playtesting, evidence-based debugging, balance, deployment, feedback and presentation.
- Tool choice: Use Creative Code Studio for rapid presentation and experience feedback, or use Kids OpenCode for final code fixes, project organisation and publishing.
- How AI helps: Act as a debugging partner and assist with the title card and short trailer. The student decides whether and how each issue is fixed.
- Visible result: A finished playable game, shareable link, trailer GIF and Demo Day presentation.
Four AI creation streams: students must understand, judge and revise
| AI stream | What AI can help with | What the student must own |
|---|---|---|
| AI Art | Draft heroes, enemies, collectibles, tiles, backgrounds and UI | Set direction, select, maintain consistency and reject unsuitable results |
| AI Music | Create original 8-bit themes, power-up jingles and victory music | Choose mood and rhythm, and judge whether the music fits the level |
| AI Sound FX | Make jump, collection, stomp and game-over sounds | Trim sounds, connect them to the correct events and test them |
| AI Coding | Suggest or modify movement, physics, collision, enemy and UI logic | Approve file operations, read code, run, debug and make it their own |
The course can use Creative Code Studio or Kids OpenCode. It does not require both tools at the same time:
- Creative Code Studio: Visual building and rapid playtesting help students understand how movement, jumping, collision, levels and feedback form a game.
- Kids OpenCode: A real multi-file project lets students use a restricted, scaffolded AI coding agent to read, write, run and debug code.
The tool is selected according to the class plan and project needs. Whichever tool is used, AI does not own the work and cannot replace playtesting or judgement. The real practice is setting a clear goal, understanding what changed, judging the result and improving it again.
How each class works: every session ends with something playable
Each approximately 90-minute class follows the same build-test-improve cycle:
1. See the goal: Play or observe the effect students will build that session. 2. Break down the task: Separate the goal into characters, assets, rules and code changes. 3. Use AI support: Ask AI for a draft, code explanation or suggested modification. 4. Test personally: Run the game and record what worked and what failed. 5. Make a focused change: Change one important problem at a time and compare the result. 6. Show and explain: Explain what was completed, why it was made that way and what comes next.
The course is delivered in person as a hands-on workshop, in groups of 8-15 students. The teacher manages pace, checkpoints, questions and feedback, and can sit with a student who gets stuck. Students remain responsible for project decisions and actual testing. Progress is visible every session rather than appearing only in Session 8.
If a student misses a class, catch-up arrangements differ between cohorts. Contact us as early as you can and we will confirm the most practical way to catch up, based on the student's progress and the current cohort's arrangements.
Before enrolling: fit and readiness
A good fit
- Ages 10-16 and interested in games, characters, music, world-building or creative projects.
- Can type and read basic English; no previous coding experience is required.
- Willing to test, explain and make a second version.
- Wants to complete a long-term project that can be played, presented and improved.
Not the right fit yet
- Only wants to play a ready-made game and is unwilling to design, read or debug.
- Expects AI to complete the whole project in one click.
- Is not yet comfortable using a keyboard or reading basic English.
- Can already build a complete multi-file 2D game independently and needs an advanced networking or game-engine course.
Parent questions: project, tools and price
- Does my child need coding experience? No traditional coding background is required, but students need to type, read basic English, and be willing to read and correct AI-assisted code.
- Will there really be a finished project? The course goal is a playable project with an original hero, art, music, sound and complete game loop, presented at Demo Day.
- Is the course copying a Nintendo game? No. Students create their own hero, world and music, and do not use Nintendo characters, logos, music or assets.
- What are the price and format? A$480 for eight sessions; approximately 90 minutes each; delivered in person as a hands-on workshop in a group of 8-15 students.
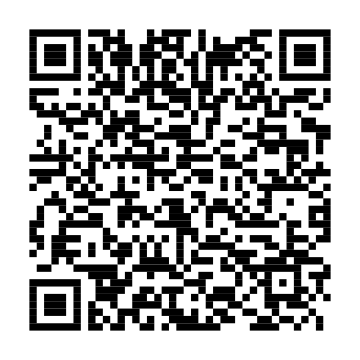
The in-person venue, cohort dates and available places change. Scan Website on the next page for the current course page, or use Sales to contact Rain about suitability and enrolment arrangements.
Read the full course plan, then check whether it fits your child
Visit the Website for the current course page, or contact Rain through Sales to confirm the in-person venue, cohort dates, places and enrolment arrangements.
Current course page
View the course overview and current public information. Check the website for any changes to dates, places or course details.
 airbotix.ai/programs/super-mario-game ↗
Contact Rain
Ask about cohort dates, available places, payment and whether the course fits your child.
 Rain - Sales on WeChat ↗